linkHow to use the mobile Quick Task Bar
Whenever you open the mobile app, the Quick Task Button always display at the bottom right corner of the screen. Screenshot Tap the button to open the Quick Task Bar and the keyboard. Type in your task description. Screenshot As you start typing, a menu appears above the field. This indicates which note the task will be added to. Screenshot When you're done, tap "add". The task will be visible the top of your todo list. Screenshot |
🔥Tip: If you tap the blue note icon in the Quick to-do area, or the grey note icon at the top right, you will open a new note to write in
linkChoosing a destination for your new task
By default, when you start capturing a new Task on mobile, we choose the current day's Jot for you as the destination.
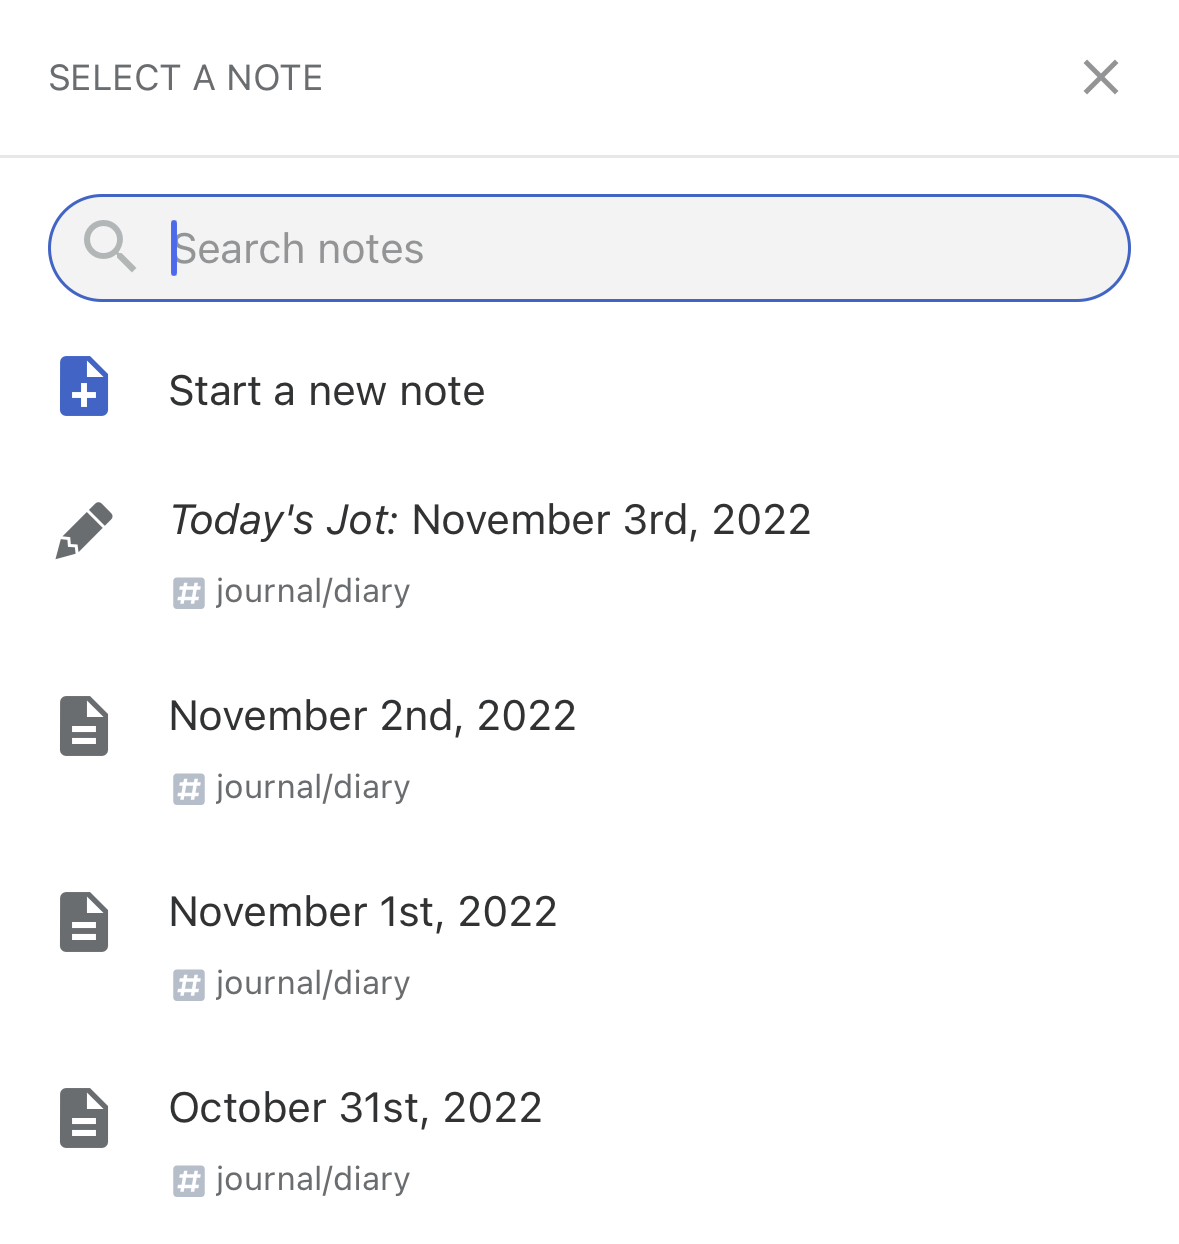
You can change that by clicking on the Destination Note's name and selecting or even searching for your desired note:
linkAdvanced: Adding tasks to the top or the bottom of a note
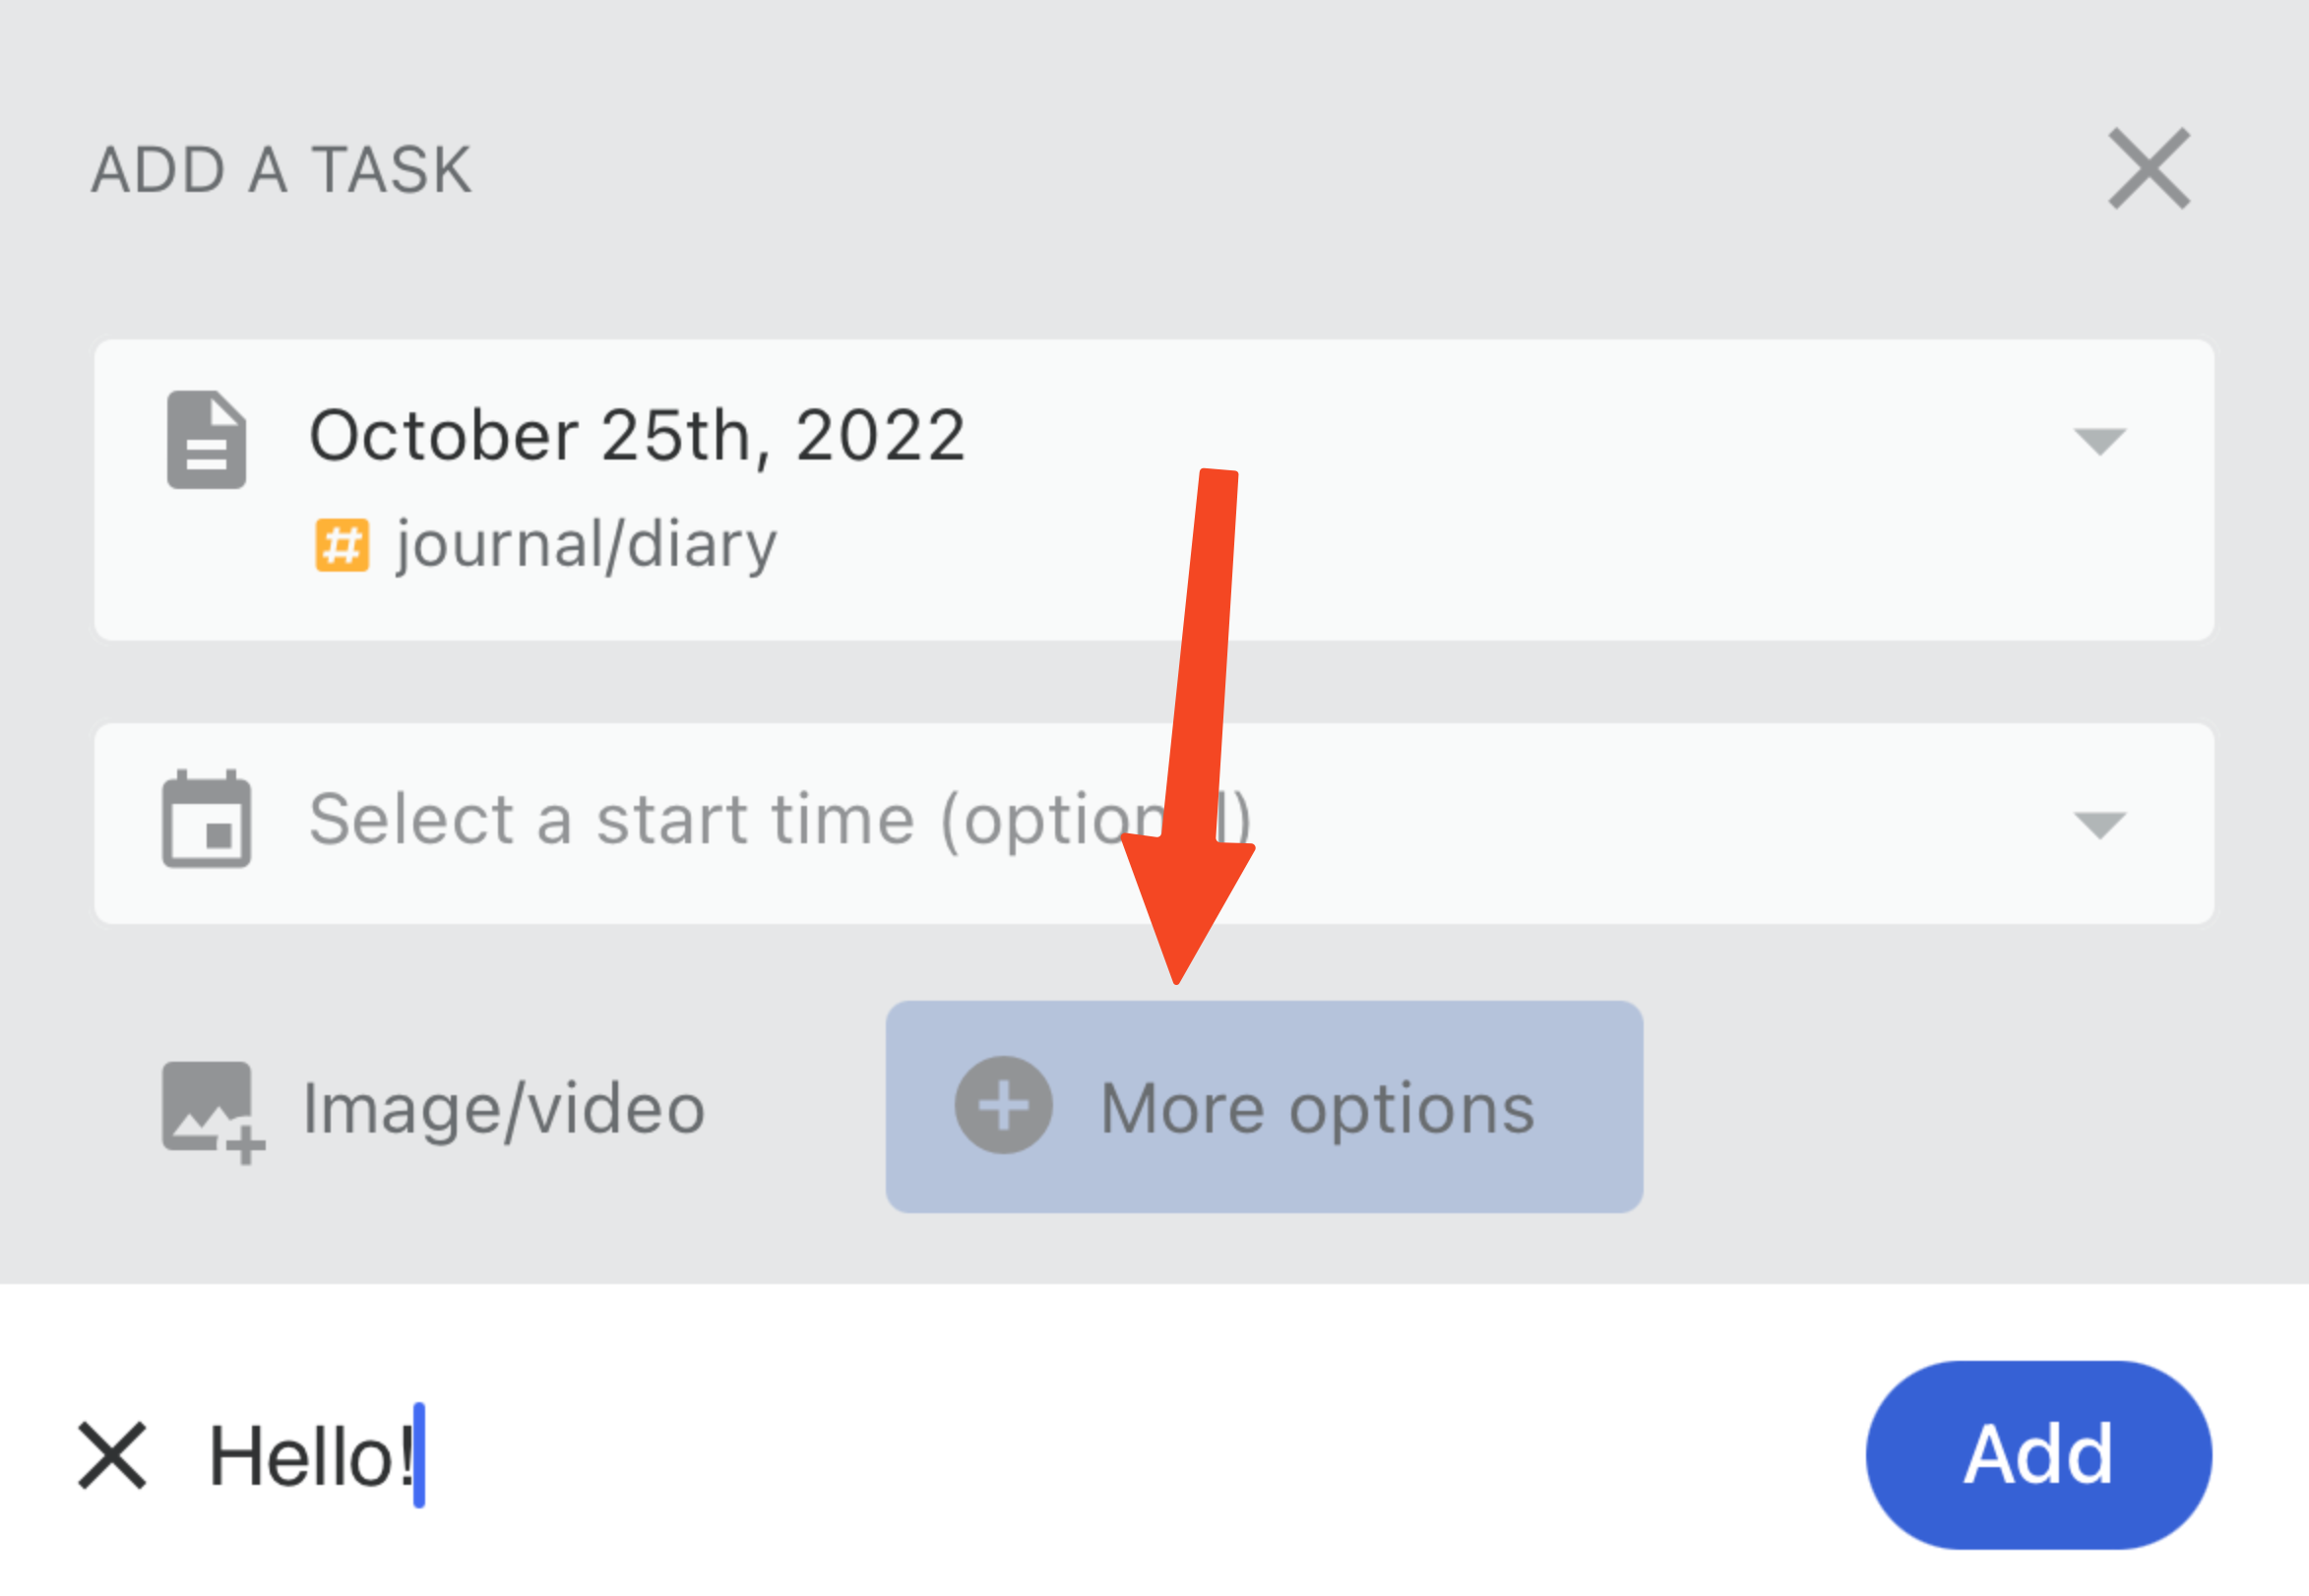
When creating a task in the Quick Task bar, you can tap on the "Options" button as seen below:
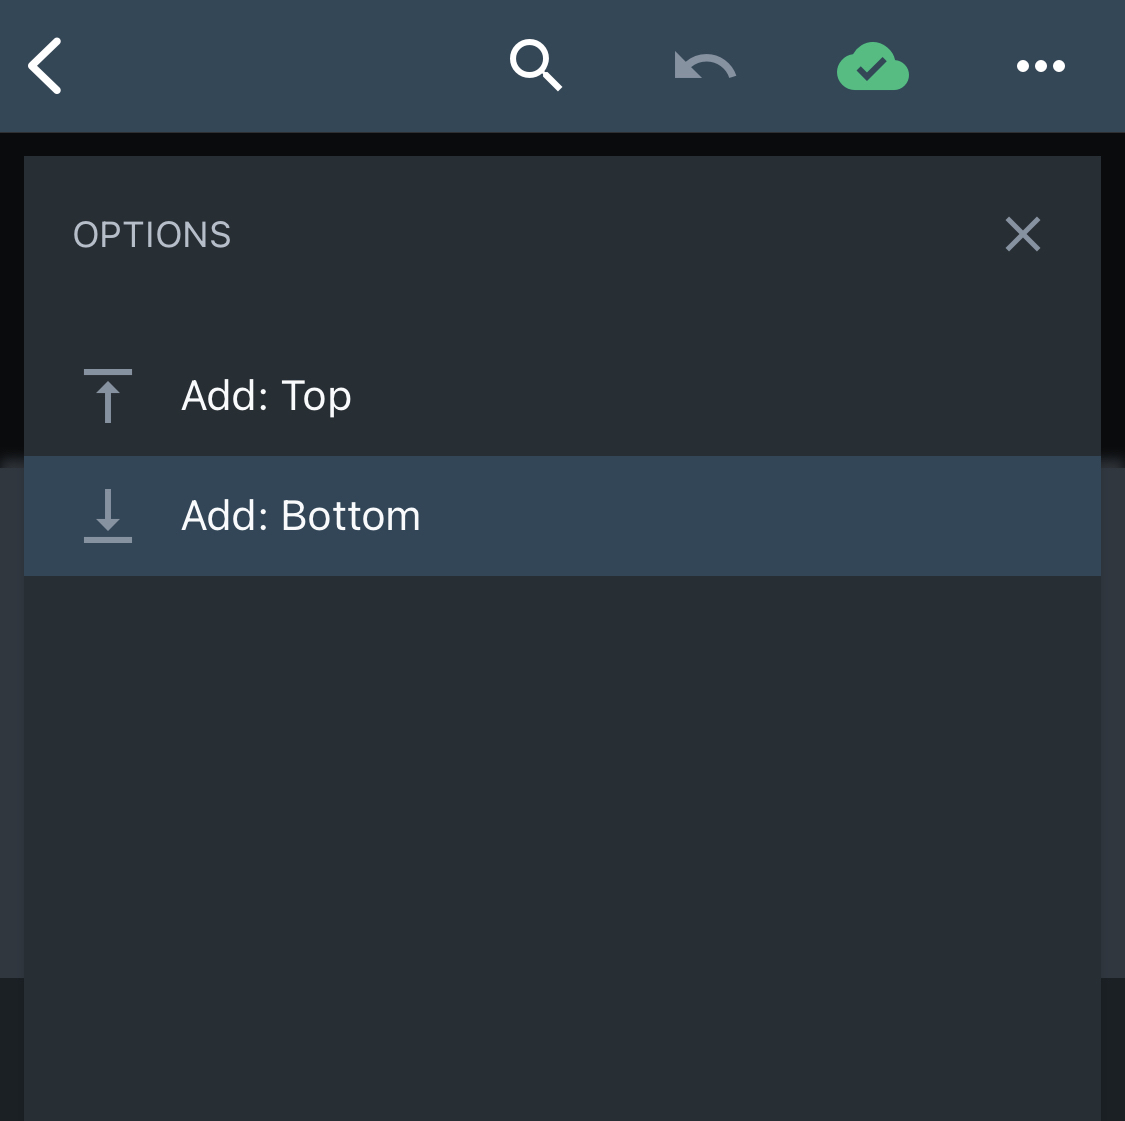
This will bring up the menu that lets you choose whether the task will be added to the top or the bottom of the note you selected:
linkAdding a Start Date/Due Date for Tasks using the Quick Task Bar
There are two main ways to give your tasks a Start Date or a Start Time:
By using the Date & Time Picker;
Or by using Natural Language Processing inside the Tasks' description.
linkAdding Start Dates using the Date and Time Picker
We're calling it "Quick Task Bar" because adding a new task is always ⚡ fast! When capturing a new to-do that needs a Start Time, you can choose between a few levels of specificity.
link1. Creating tasks without a Start Date
By default, creating a task in the Quick Task bar will result in a task without a Start Date. You just need to type out what the task should do and add it to the selected note.
link2. Adding a Quick Start Date
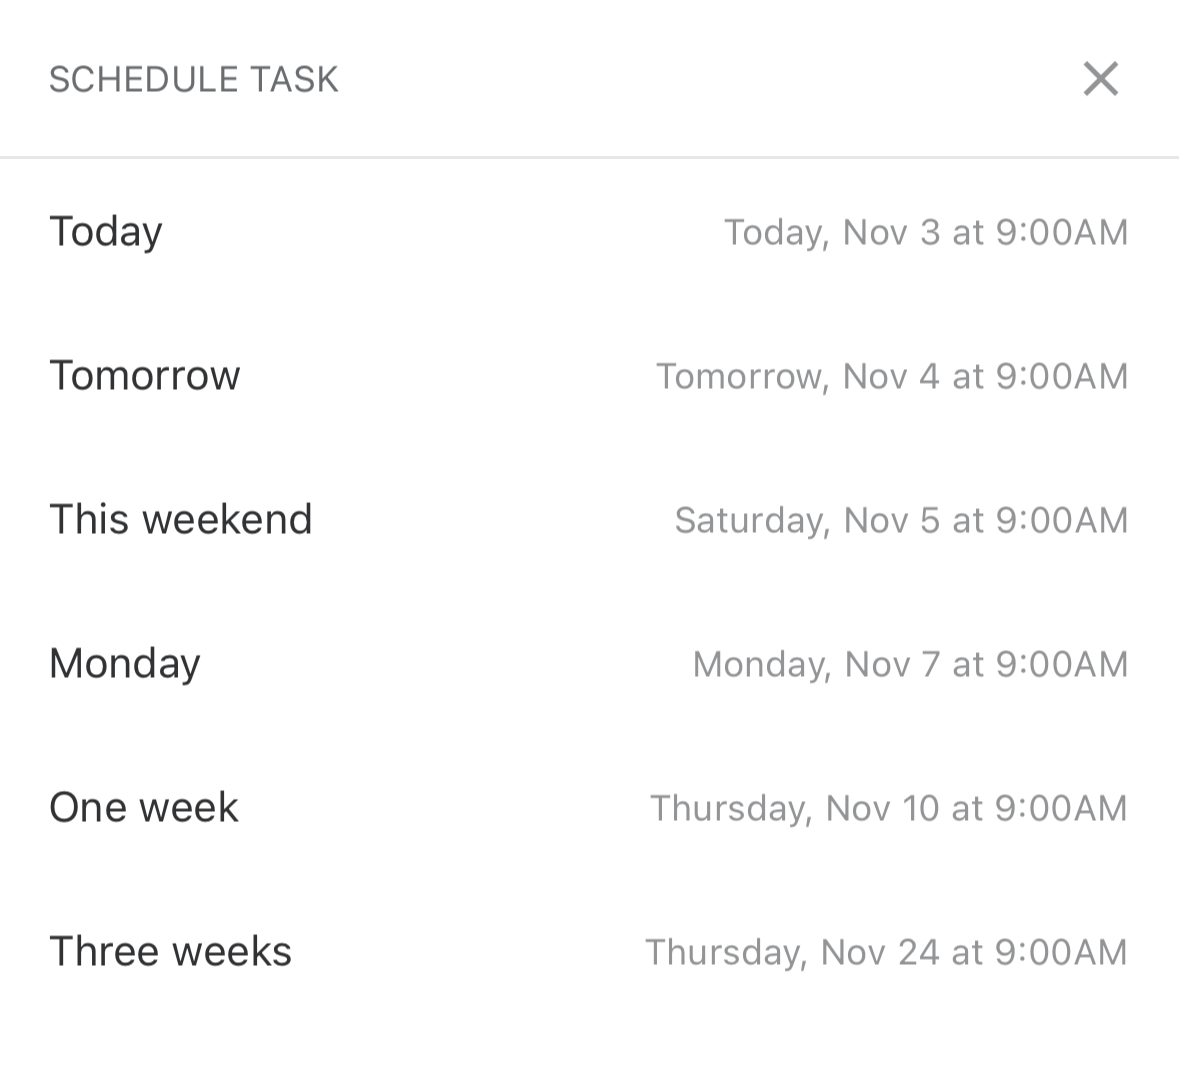
Click on "Select a start time (optional)" and then choose between a list of preset dates to save some time.
link3. Choosing a Custom Start Date
Using the same menu described above, scroll down and select "Choose Day and time...":
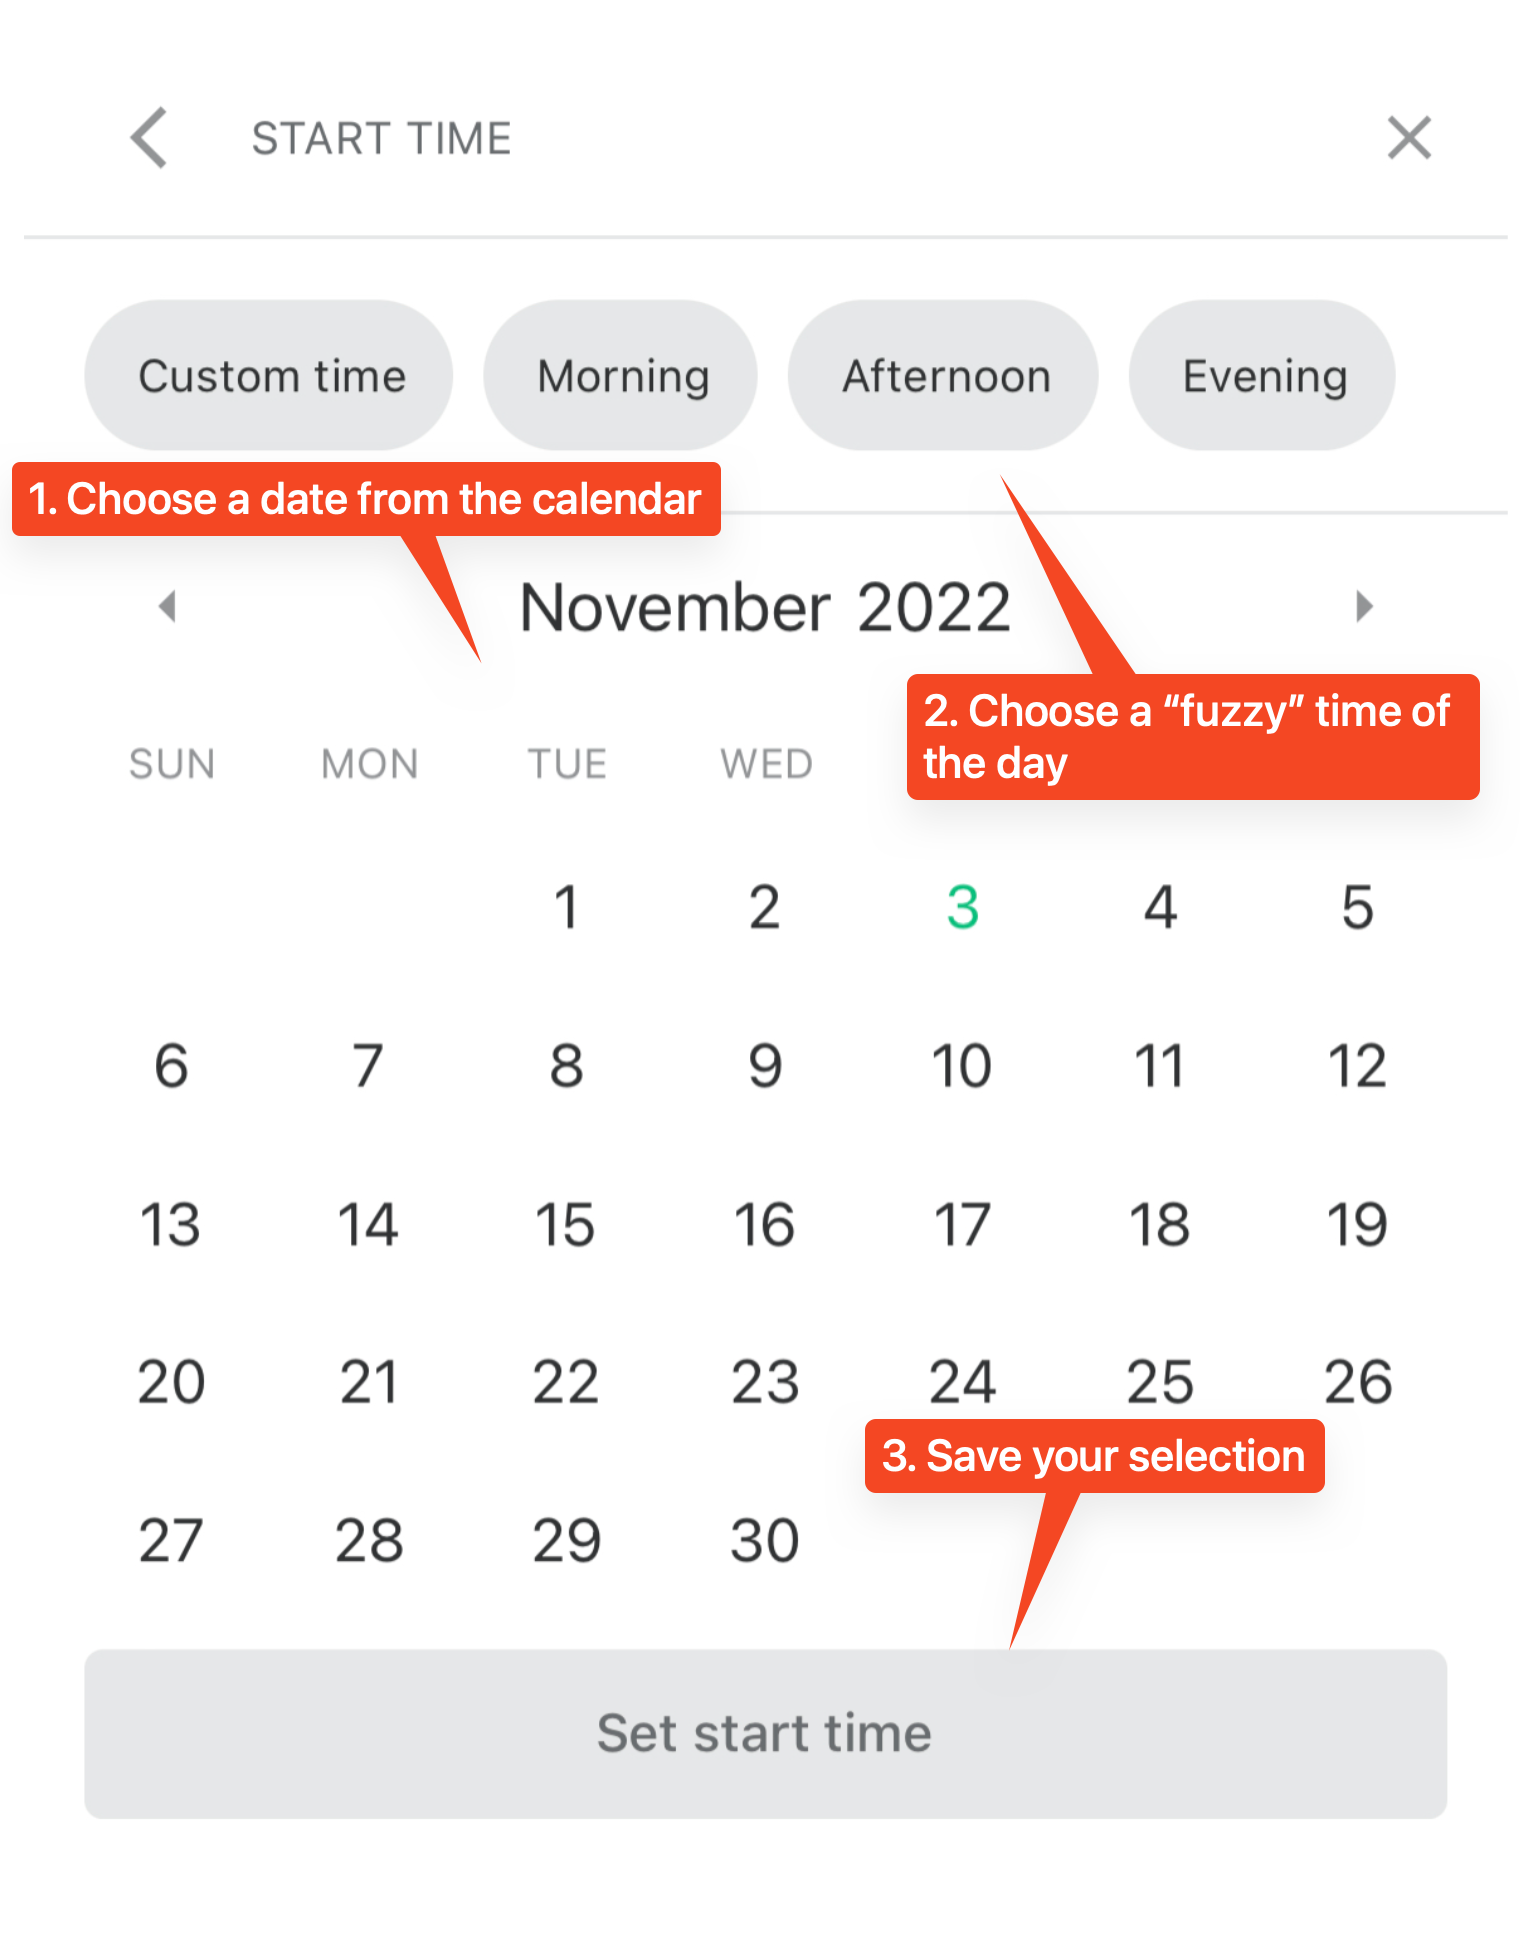
This option works best when you know the Start Date, but don't care too much about the Start Time.
Simply use a Fuzzy Time from the options at the top of the menu.
link4. Setting the Exact Date and Time
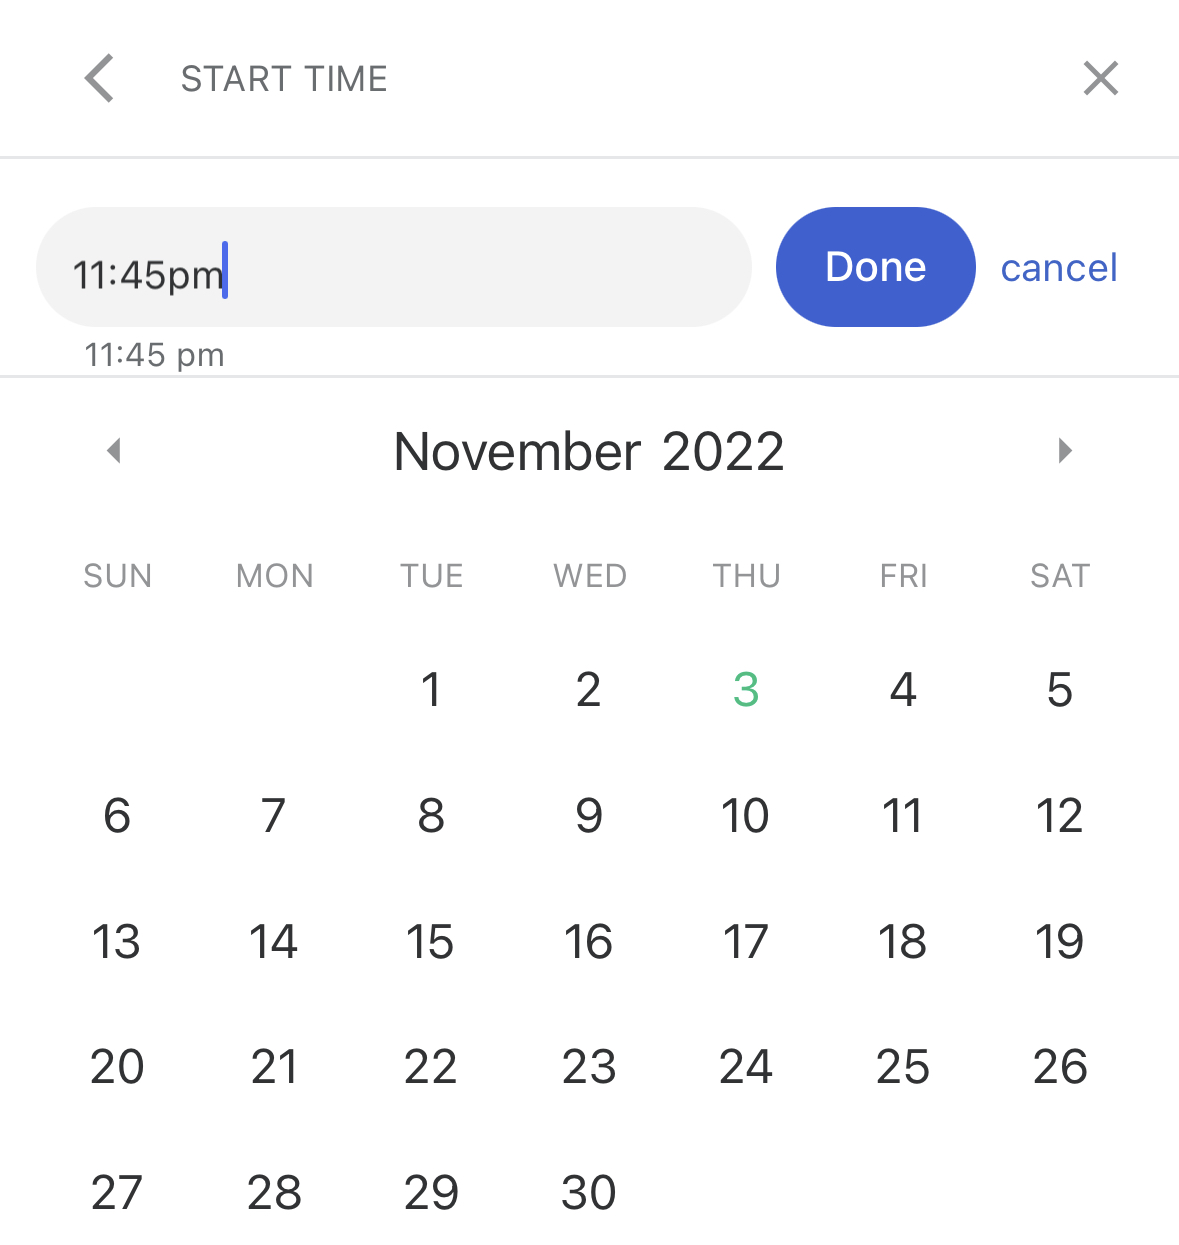
Using the same menu described above, simply choose the "Custom Time" option:
linkAdding Start Dates using Natural Language Processing (NLP) in the Quick Task Bar
Whenever you write something that looks like a time or a date in the Quick Task Bar, Amplenote will show you an option to apply that time/date to the task itself! This works just like in the Note Editor (Setting Start Times using natural language recognition of dates).
linkAdding images and videos using the Quick Task Bar
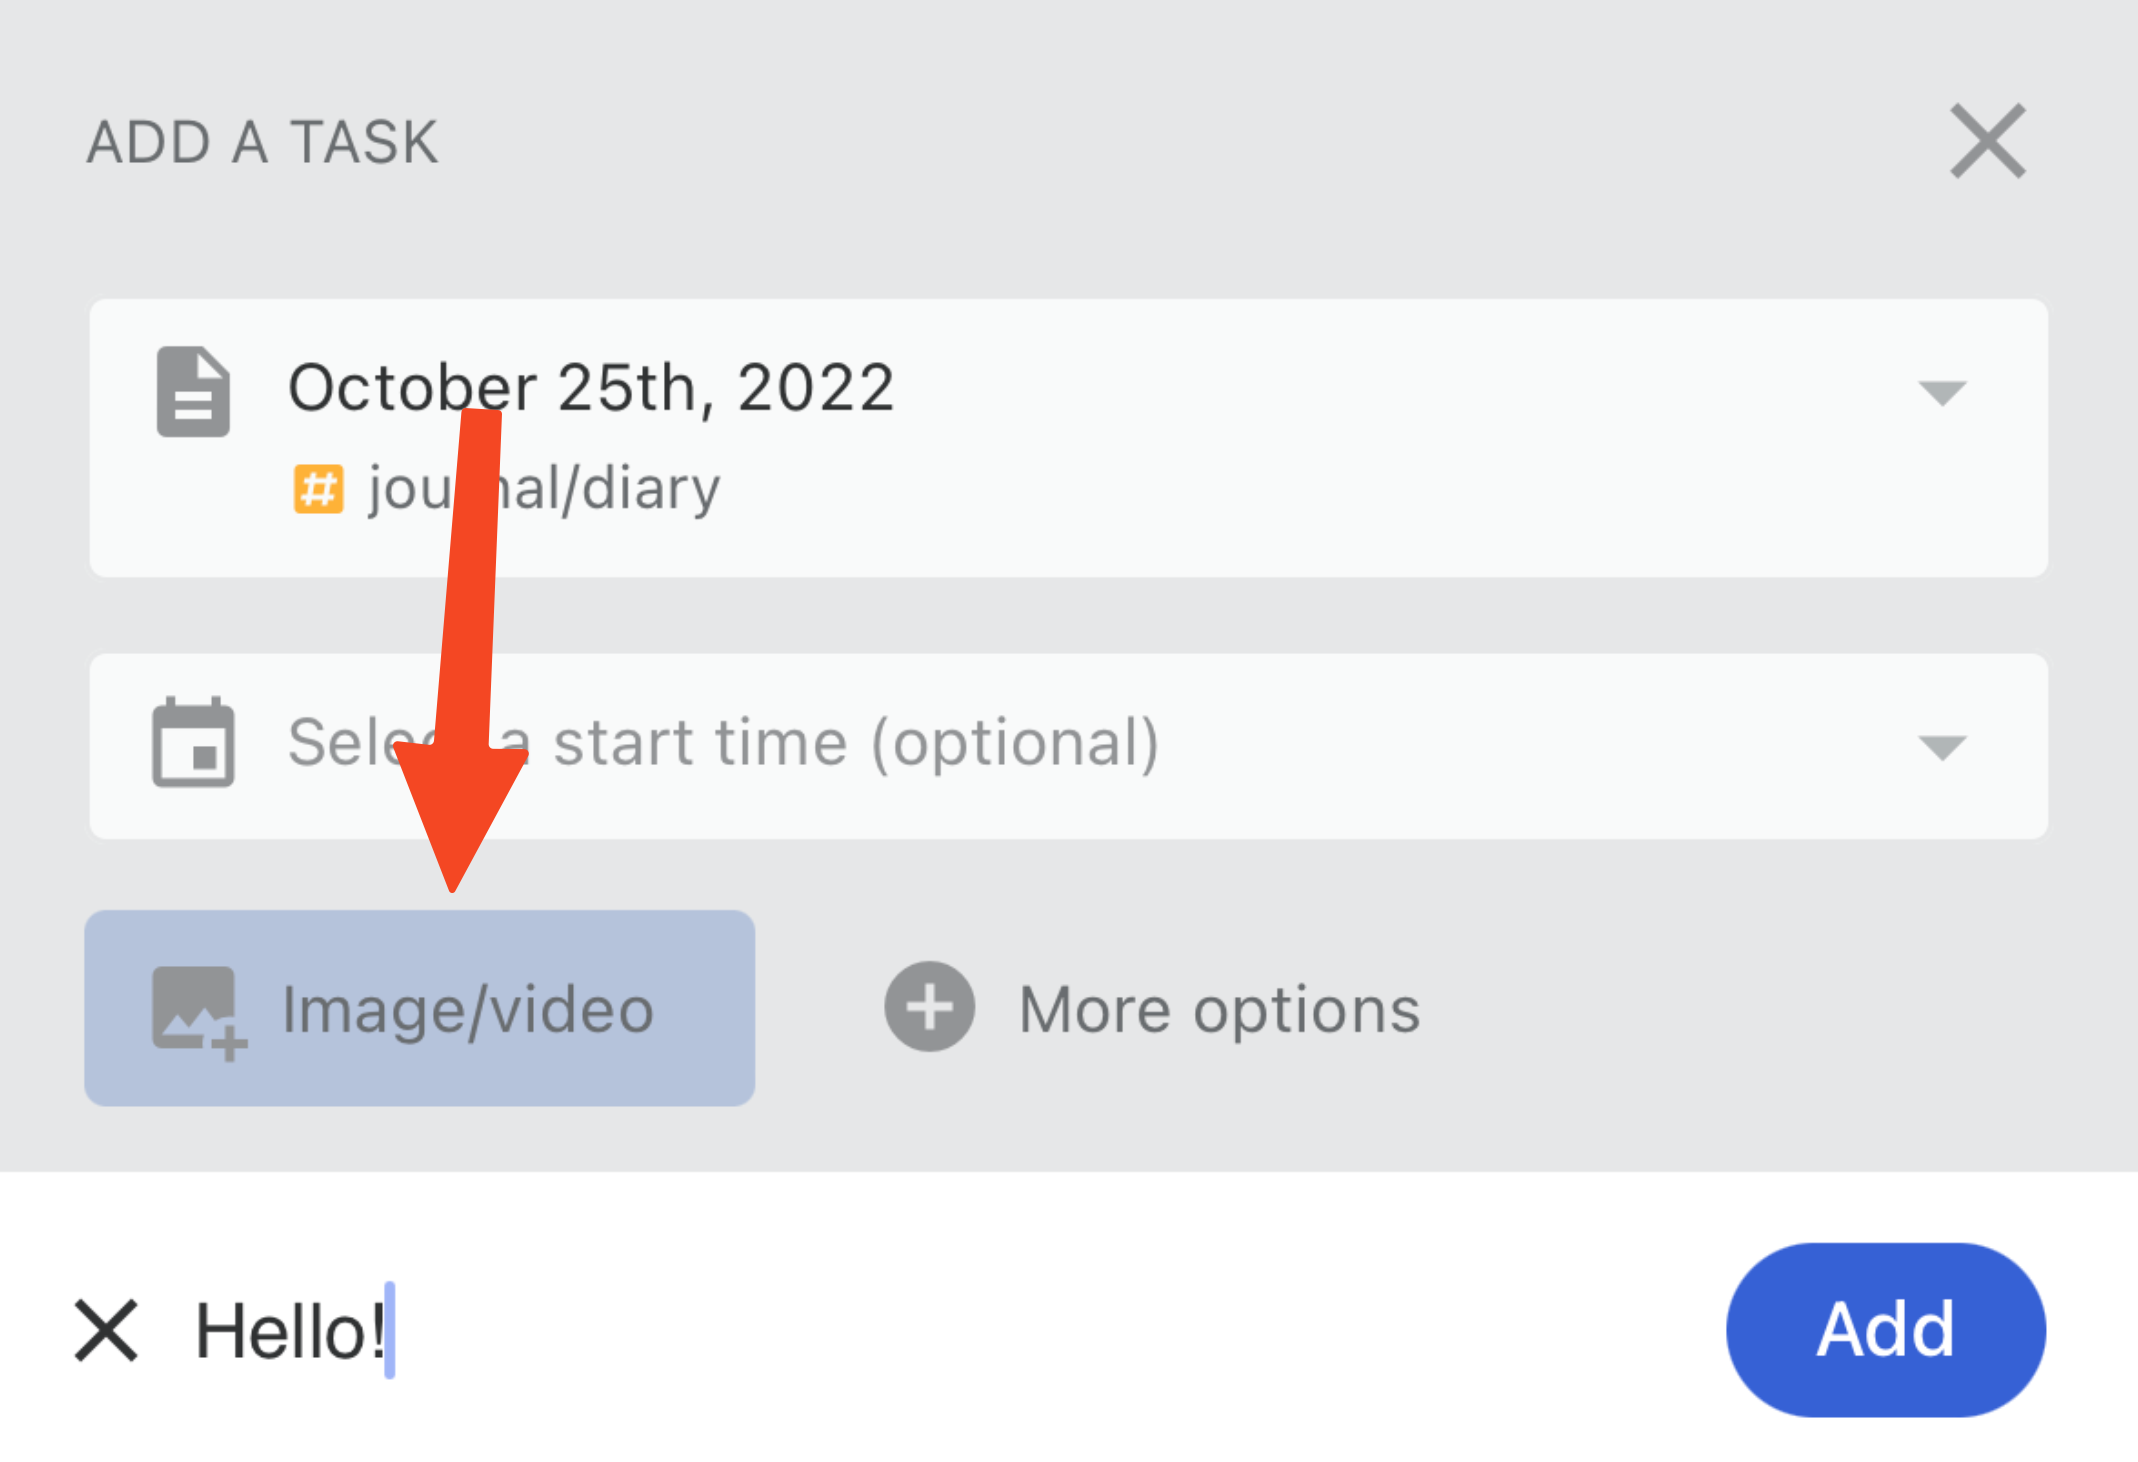
Simply use the "Image/video" button in the Quick Task Bar to quickly attach images/videos from your mobile device.
💡 Tip: For another quick way to add images to your notes, check out iOS/Android Share Sheet: Sending text, links, images and PDF files on mobile#Sharing images to Amplenote on iOS.
linkUsing Task Commands inside the Quick Task Bar
Task Commands are now working inside the Quick Task Bar! Simply use an exclamation mark ! (and make sure you add an empty space before it) to see all of the available options.
For more docs on Task Commands, check out Using the Keyboard-driven ! Task Commands Menu.